4drsem206

Monday, November 20, 2006

The End Is Near.

Well Guys the end is near,

After a few technical hic ups the blog is running again, just in time for the last lesson. In the last few weeks you have all worked towards your final exams, theory is over and next week is your practical. I wanted to wish you all the best of luck, don't forget to come and see me, phone or email if you have any questions.

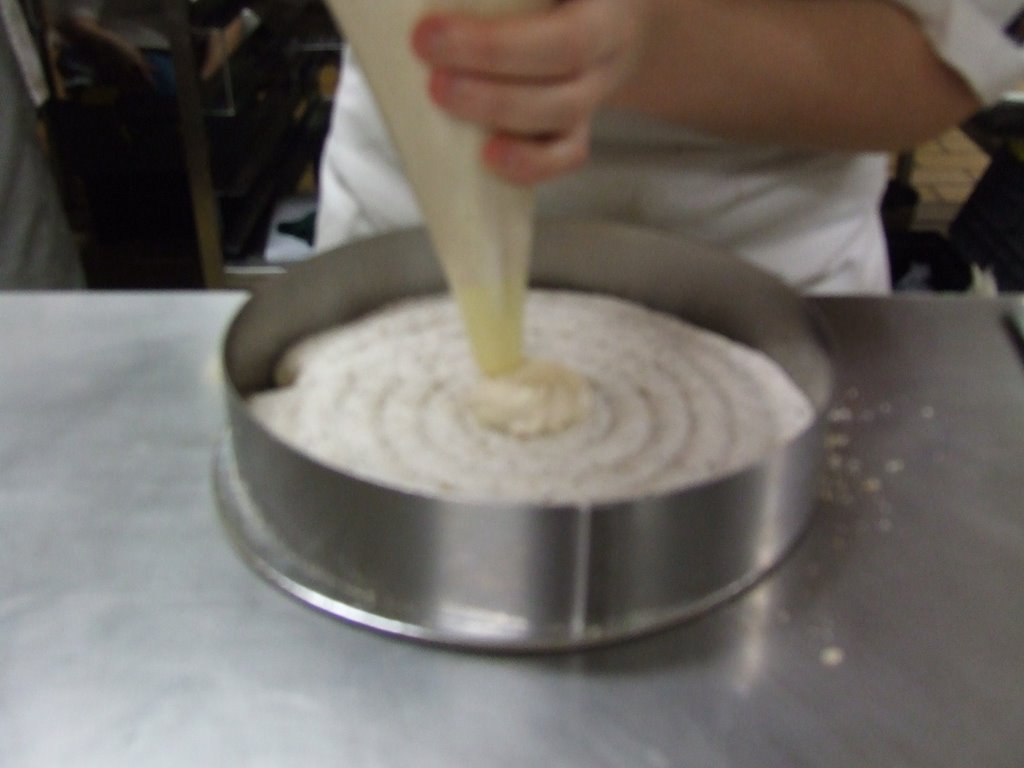
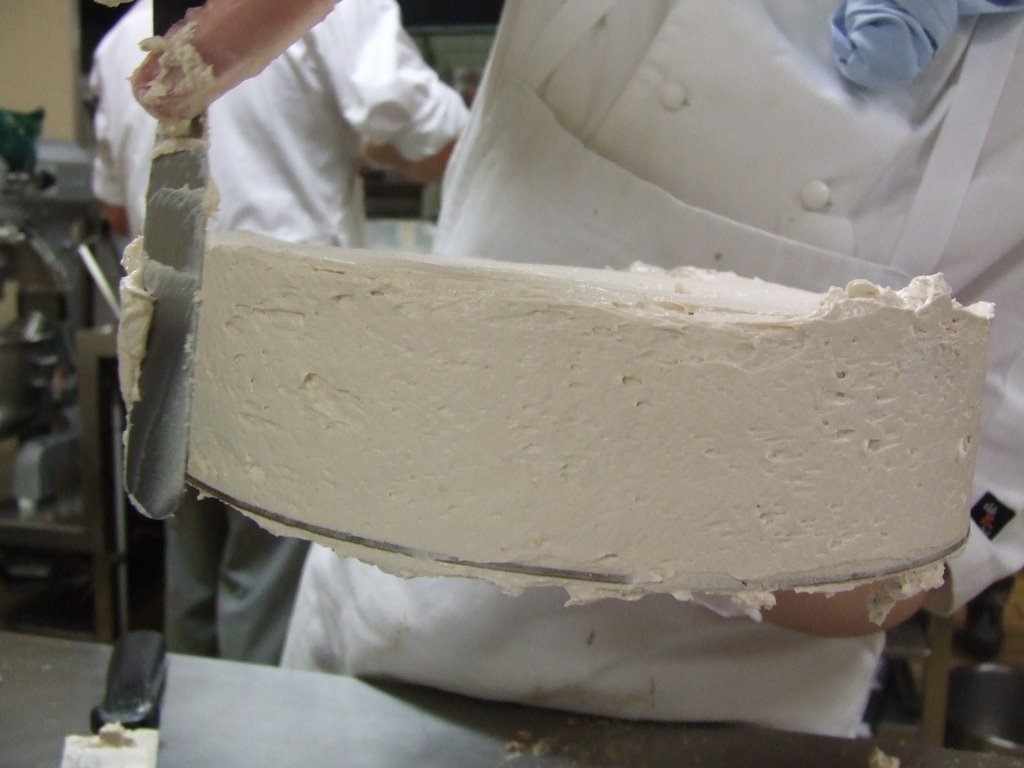
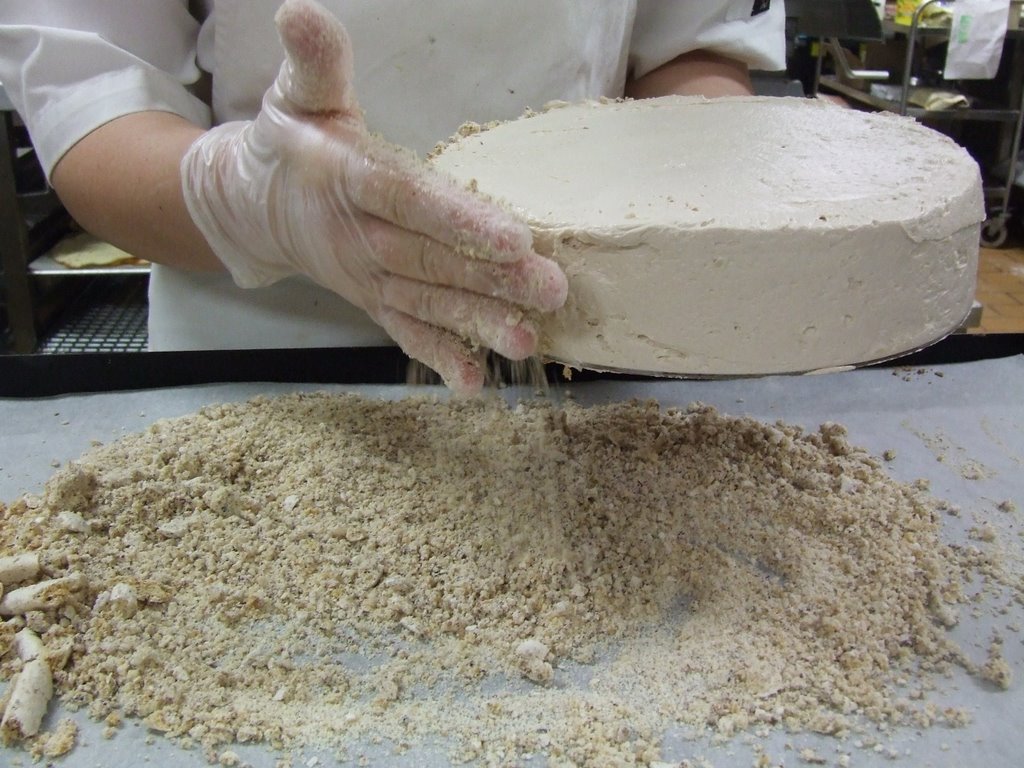
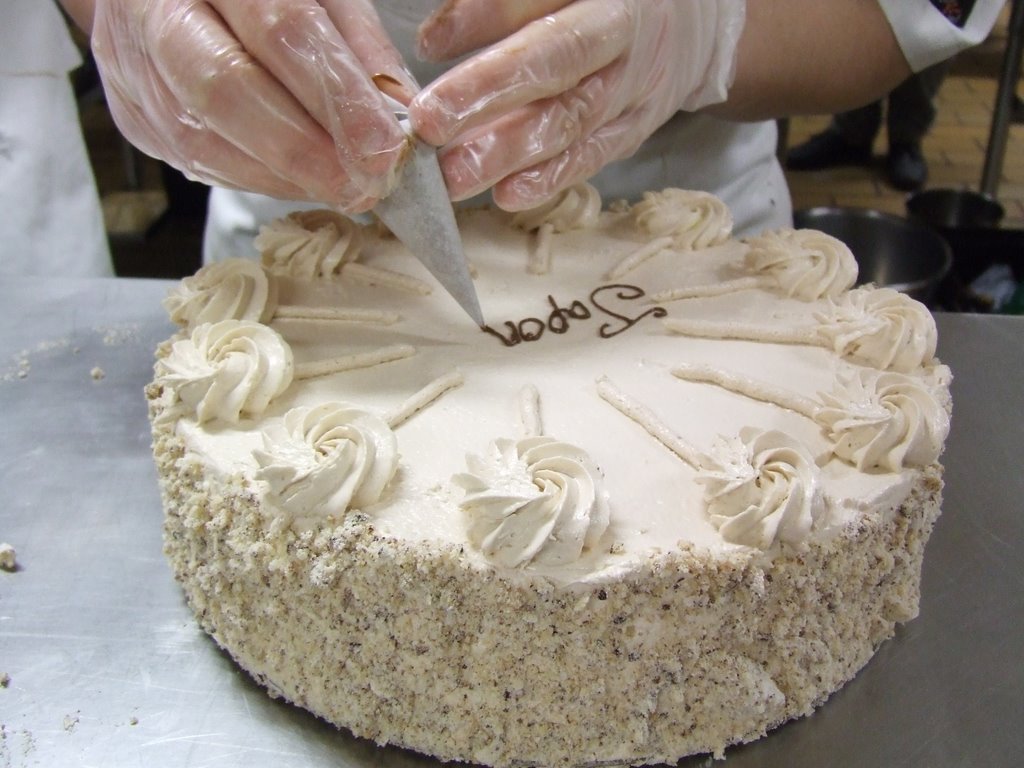
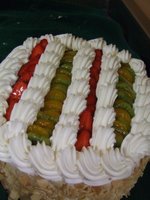
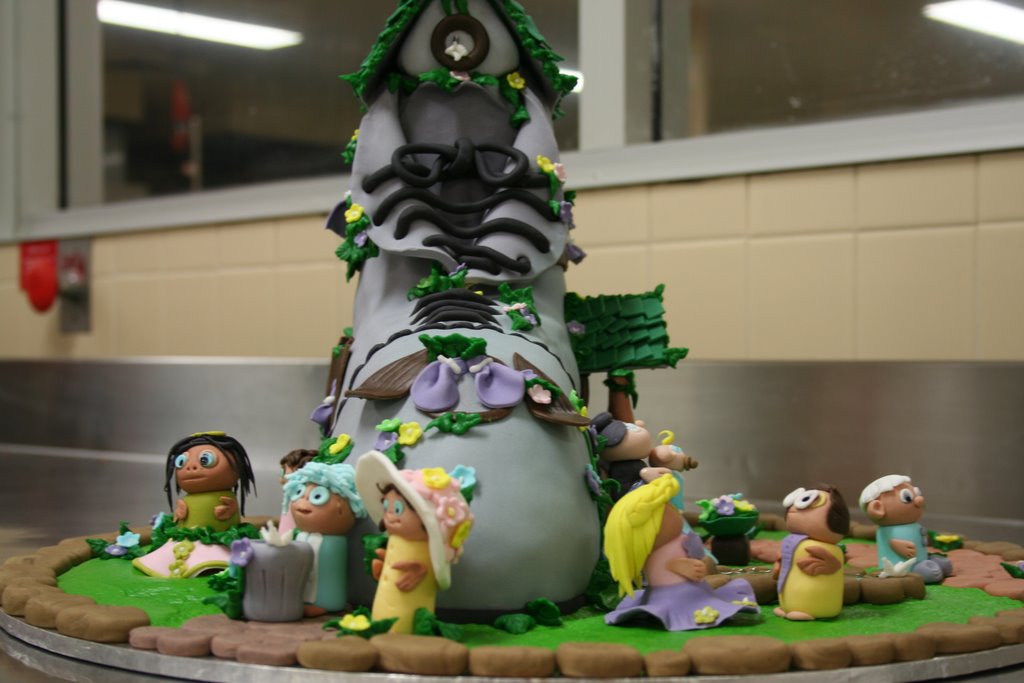
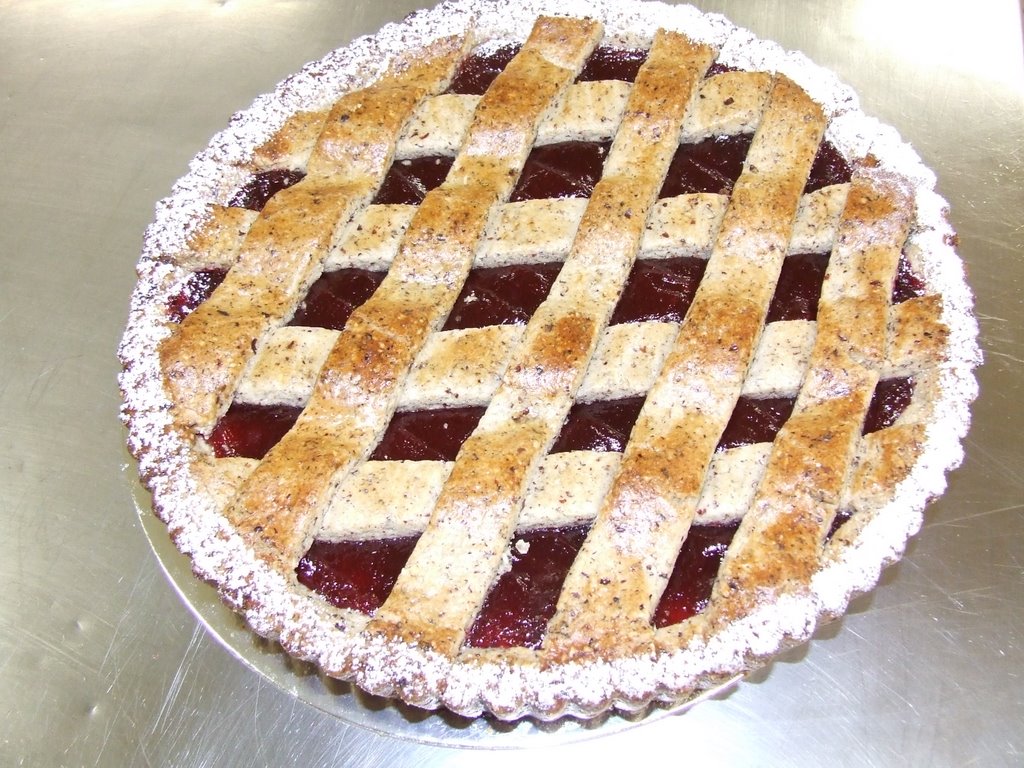
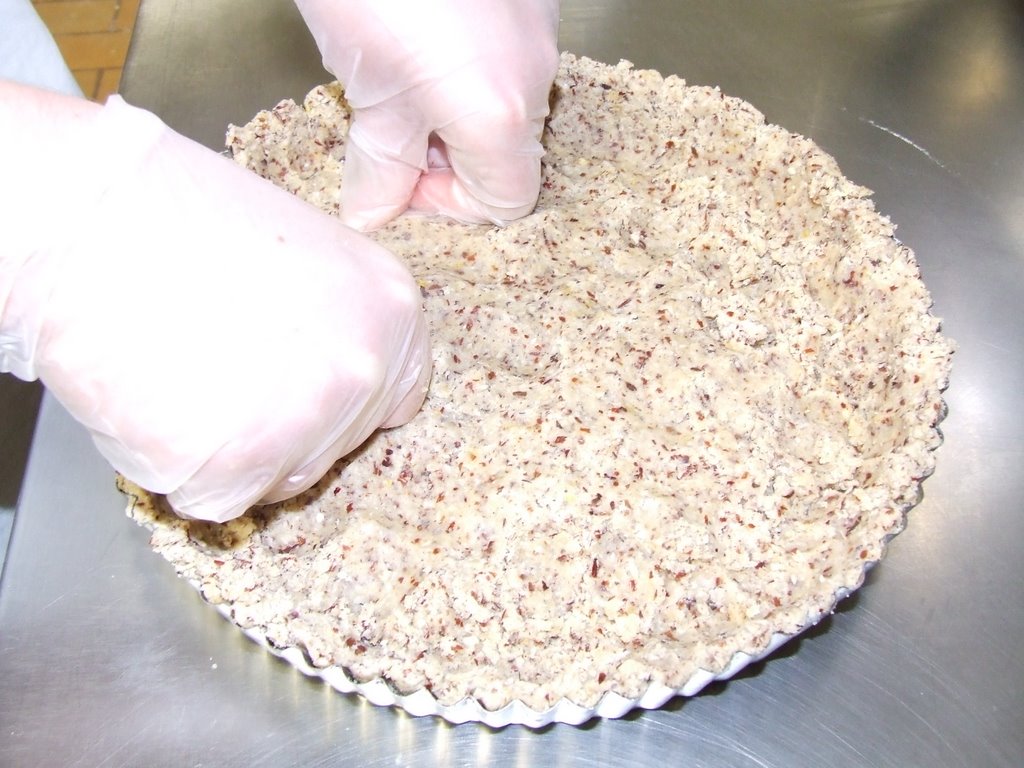
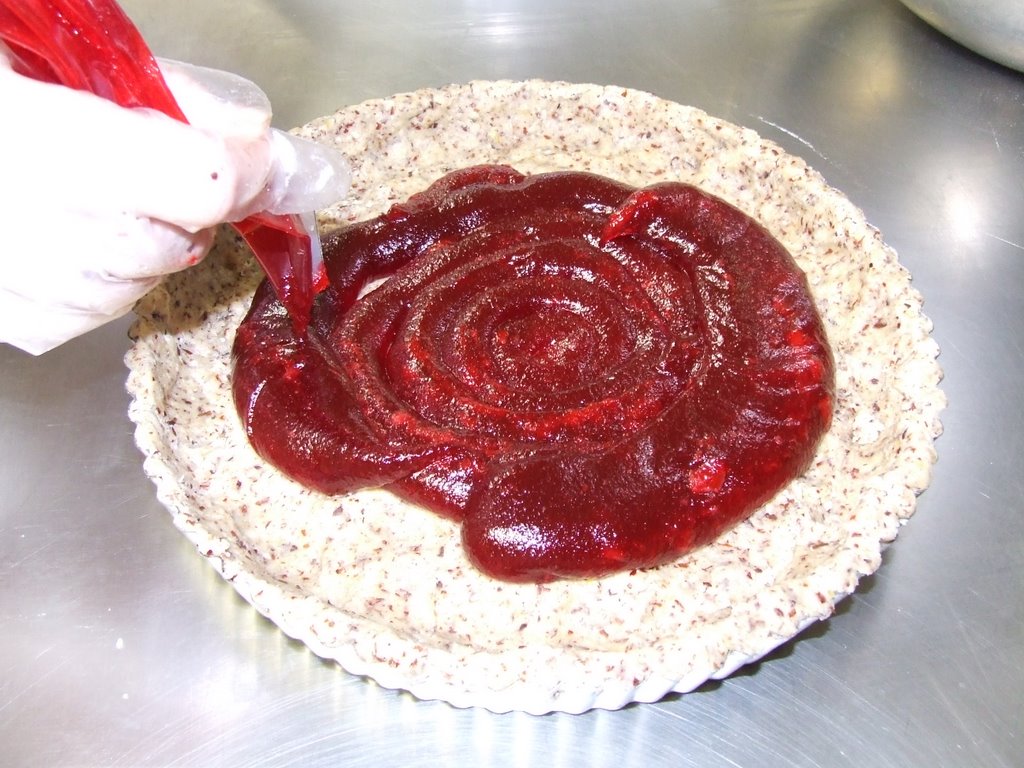
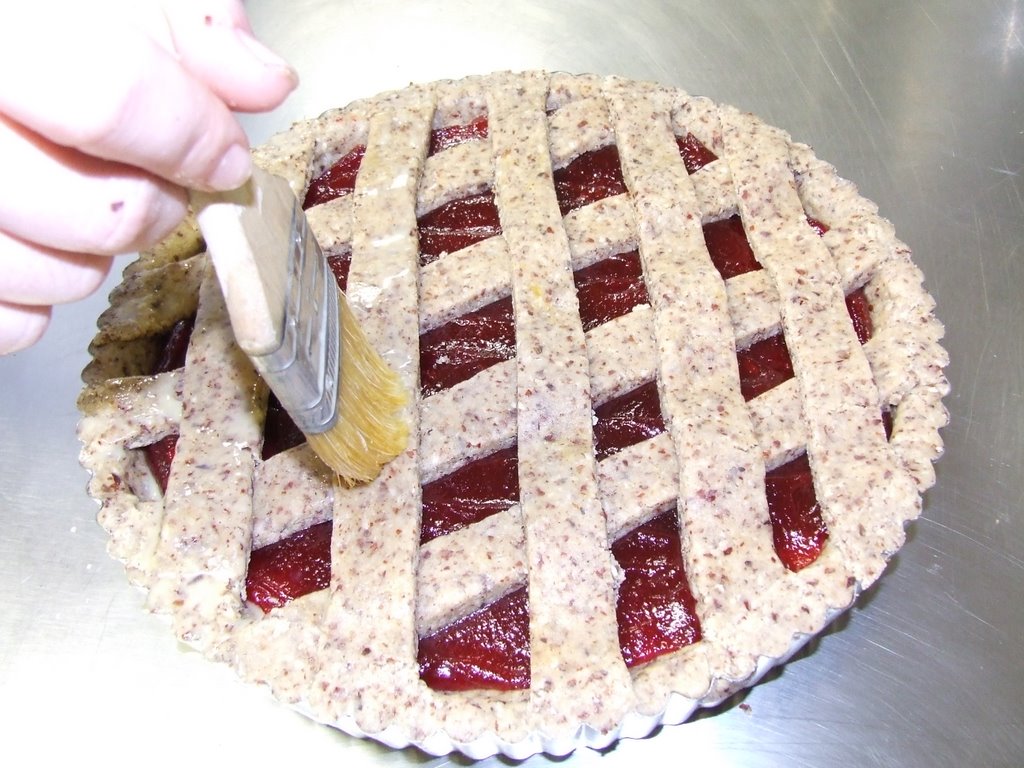
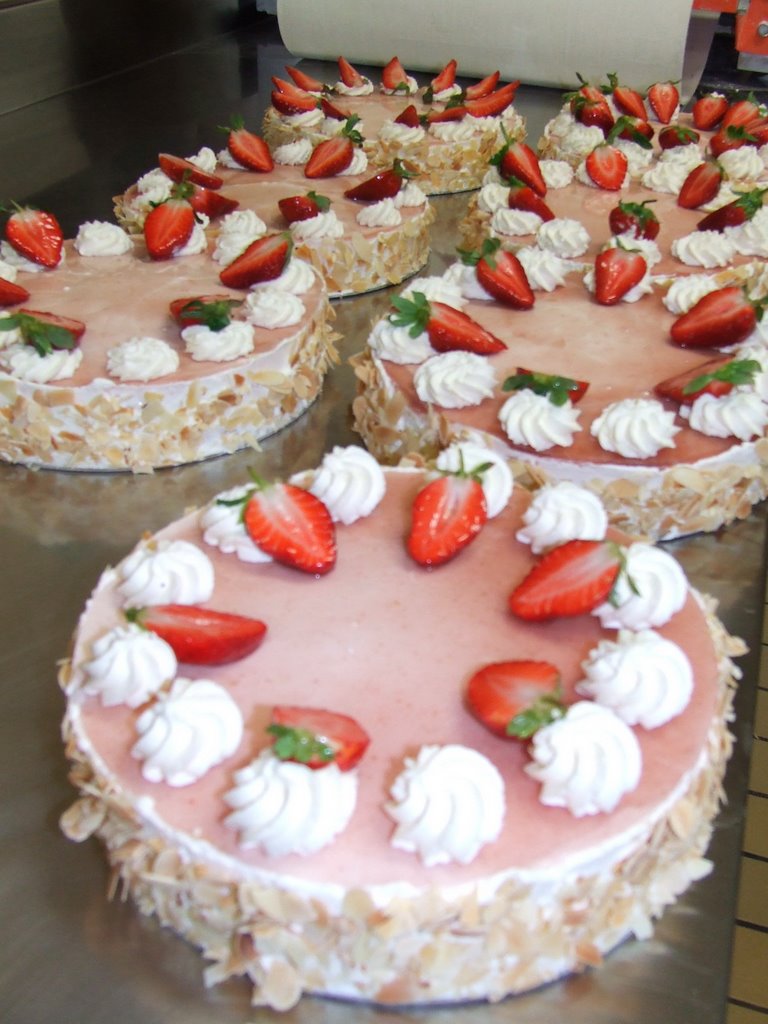
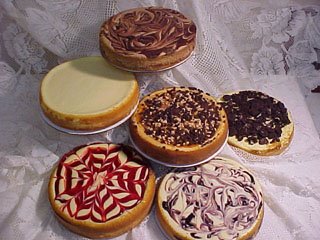
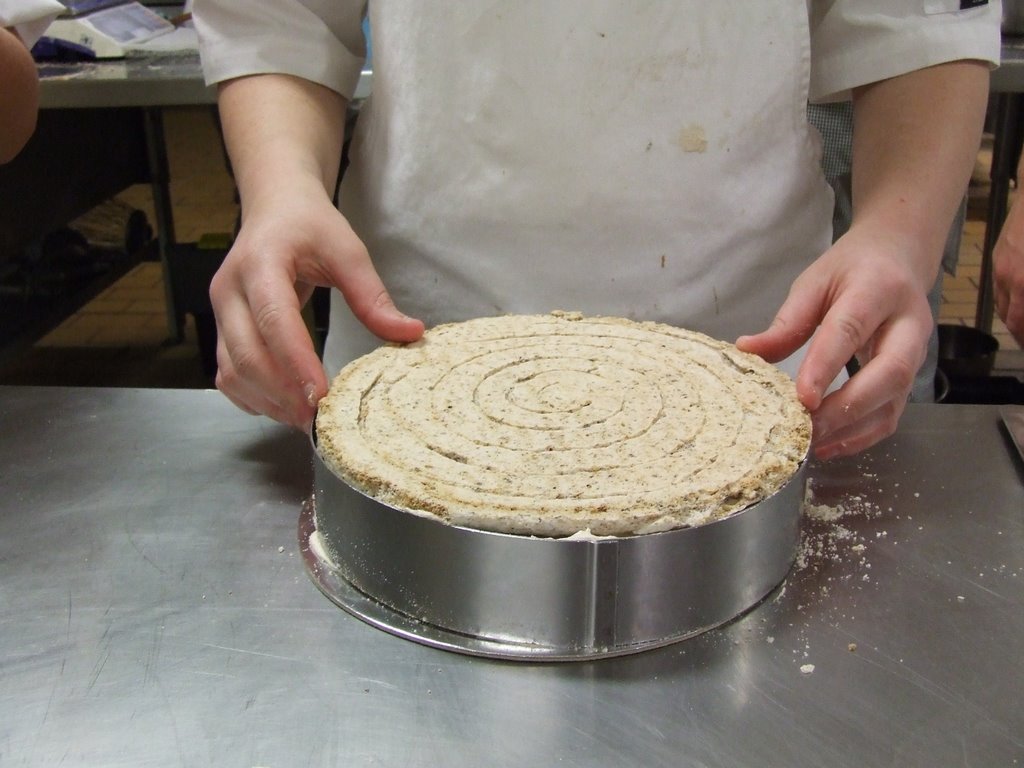
I have seen most peoples work flows and I am very impressed with the effort and committment many of you have made. The cakes you have all been working on are nearly finished, I think you would agree that well it has been challenging it has been fun. I'll be posting a few pictures of your work over the next few days. Good luck to you all.

Thursday, October 19, 2006

Petit Fours


This week we made petit fours, the term literally means "small ovens" in French, centuries ago little cakes were baked in the oven after the large ones when the brick ovens had cooled down. Now days this term refers to a variety of not only cakes but cookies, pastries, mazipan fruit and chocolates served with coffee, tea or a glass of wine.

As we discussed in class there are several different types:

Petit Four Glace is the most common type, usually consisting for various small iced cakes cut into shapes such as diamonds, rounds, ovals, triangles or even hearts. The square petit fours are the most common as there is very little wastage. A poured fondant is the traditional glaze but nowdays a ganche or poured icing is also used. When set delicate decorations or piping is placed on top.

Petit Four Sec refers to the delicate cookies, sometimes sandwhiched together with preserves, ganache or praline.

Petit Four Frais are miniture pastries like mini eclairs, lemon or fruit tarts and marzipan coloured, flavoured and moulded into mini fruits.

More information can be found on the following site:

http://en.wikipedia.org/wiki/Petit_fours

The important points of this weeks lesson relate to the preparation and use of the fondant for our petit four glace. these points include:

  • The fondant needs to be used within the temperature range of 37-40 degrees celcius.
  • Adjust the fondant with a sugar syrup (stock syrup) to get the required consistency for dipping or coating, it should coat the cake with a thickness of 1-2mm without running off.
  • Each of the different shapes of cake should have a different flavour/colour.
  • The recommended colour progression should be white, yellow, orange, pink, coffee and brown. These colours are complimentry on the trays when the products are served, avoid using blue and green.

Check out these petit four glace, remember we discussed in class the possible retail prices, something for you to think about, possible market niches include weddings, christenings and restaurants.

http://www.dragonflycakes.com/products.php?cat=5

Finishing the Japonaise Gateaux


Hi Guys, here are the pictures of the final assembly of the Japonaise Gateaux. Remember the decorating skills you demonstrate in your assessment are important to your final marks, so it is important that you prepare yourself for success. Take time out to practice, if there is no opportunities at work then take ownership for your success by practicing at home. You must be able to demonstrate skills in masking and piping such as rosettes, the only way to improve once you have learnt the concept is to practice practice practice........


The Japonaise Gateaux can be built with or without the use of the ring. If you have limited experience I would suggest you use the ring as this will help you ensure the gateau is level. Remember the filling is a hazelnut flavoured Italian buttercream and should not be thicker then a 1cm in the layering of the product.


There are 3 layers of meringue and 2 layers of buttercream, ensure the gateau is level. The top meringue is placed upside down, this allows you a completely flat surface on the top of the gateau and will help maintain a flat and level top when masking.


Check the consistency of your buttercream, use a palette knife to spread an even coating of buttercream onto the gateau. Your sides should be perpendicular, the edges of the gateau clean and neat to look at. If you are having problems put a thin layer of butter cream over the meringue, place it in the fridge to firm up and then remask


Once you have masked the gateau use the crushed Japonaise Meringue to finish the sides of the product. Again try to keep it neat and even, especially the top edge of the gateau.

Remember what you have been taught in class regarding hygiend and avoid using your hands directly on the finished product, there will be plenty of gloves available. Assessors are looking at not only your production and work methods but also OH&S practices.


You will be asked to decorate the gateau into 12 even slices, each slice is to be decorated as we practiced in class. This means you will be asked to write on the top the word Japonaise and decorate it as shown. You need to practice the inscription and your piping skills.

Tuesday, September 26, 2006

Japonaise Gateau Meringue Production

We are getting closer to the final exams and we now have made each of the products that make up your assessment tasks.

As the Japonaise is part of your assessment I have included as many pictures as possible to show you how to build the gateaux. Remember planning is a key component to your success in an exam, ask me if you are having problems or are unsure what the expectations are prior to week 18!!


Ensure when you start the Japonaise you have all your ingredeints ready to go, remember the egg white will need to be reconstituted with the recommended amount of water. Take care not to overwhip the egg whites. Be careful not to fold the dry ingredients too much or you will lose a lot of the aeration in your product.

Carefully pipe the meringue discs for the Gateaux, remembering to allow space between the discs. Pipe the remaining meringue onto a baking tray as this will be used for masking.

Your assessor will be looking at not only that you have used the correct method of production for the meringue but also correct piping techniques and work practices.

Thursday, September 14, 2006

Meringue based products.


Already this semester we have made several different meringue. These included a cold or French meringue and an Italian Merinue. In todays lesson we made the Pavlova, the great debate continues as to whether it oringated in New Zealand or Australia but they certainly looked appetising.

http://en.wikipedia.org/wiki/Pavlova_(food)

What did we learn? We discussed in class they following points:

  • Preconditioning the egg whites to 27 degrees celcius is ideal for aeration of the eggs.
  • Egg whites that are whisked to long will seperate, this results in the protein coagulating and the water content escaping, the whites will have a grainy texture. In a batter this will result in the egg whites losing their ability to aerate adequately.
  • A French or cold meringue as it is sometimes referred to is unstable, this means it will collapse quickly once it has been aerated.
  • Swiss meringues are more stable then a French meringue due to the partial coagulation of the protein in the egg when heat is applied and enables the sugar to dissolve more readily.
  • An Italian Meringue uses a sugar syrup where the syrup is heated to 118 degrees celcius and then added to the whisked egg whites. It is the most stable of all the meringues.

Click on the following link to learn more about Meringues:

http://en.wikipedia.org/wiki/Meringue

Orange Competition

Hi All, wanted to say well done to all those students who entered the BRI Baking Show, your enthusiasm should be commended. The next show is in Sydney in November, I would like you all to think about what you would like to do for the next competitions. This is a great opportunity for you all to get support and assistance from your teachers here so I hope you all will rise to the challenge.

Monday, August 28, 2006

THE OLDEST KNOWN TORTE IN THE WORLD.


Did you know the Linzer torte is the oldest known torte or cake in the world, it was first mentioned using this name in 1696 making it over 300 years old.

More information on the history of the Linzer can be found at:

http://en.wikipedia.org/wiki/Linzer_Torte

You will be required to produce a Linzer torte for your final assessment so I have added a few pictures and information of the production method. Don't forget the bulk of the linzer is short pastry and therefore should be made using ingredients of a superior quality. It is a dry product that needs to be served in small portions tradionally with a beverage.

Produce the pastry according to the method in your module notes. Remember to Line the flan tin so the base is thicker then the sides. In class we made 120% of the recipe and used 800gms to line the base and sides. We used rolled the remianing paste for the lattice.


Once lined place 35ogms of Raspberry jam in the onto the base. Make sure the jam is spread evenly and that you do not get it all over the top edge of the pastry base. This will case the pastry to look unattractive when the product is baked.


Carefully roll and cut the remaining pastry to produce a lattice effect on the top of the Linzer. for the best visual effect make sure you do not cut the strips wider then 1.5cm. Using an egg wash made only with egg yolks will produce a darker and richer looking glaze. Care should be taken when applying the glaze to ensure it does not leak onto the jam area of the torte resulting in a poor finish on the product. Remember this is an oven finished product, which will only require a light dusting of icing sugar around the edge of the product.

Sunday, August 13, 2006

Cold set cheesecakes and Tiramisu

How good did those cheese cakes look! Well done to you all!
We discussed today the 2 different methods of production used to make cold set cheesecakes they were:
  • The first type uses a soft cheese such as cream cheese or mascapone and is set with gelatine.
  • The second is also set using gelatine but is custard based and normally uses Quark, a German cheese that has a slight tang to the flavour and a crumbly texture.
  • We talked about the importance of ensuring the cream cheese is soft so the ingredients can be combined easily.

You would reaslise from todays lesson that having everything ready to go, the cream whipped, the gelatine soaking, the meringue made or the bases prepared is important to you successfully achieving the task. Being organised and understanding the function or purpose of your ingredients is the key to being efficient.

Review information on the following website regarding gelatine:

http://en.wikipedia.org/wiki/Gelatine#Edible_gelatins

Baked cheesecakes.


In the last lesson we have made several different types of cheesecakes using a variety of soft cheeses, these included a variety of baked cheesecakes. During the lesson we discussed the following important points:


  • It is common practice to use soft, mild flavoured cheeses enabling the product to take on different flavourings with out overpowering it's delicacy.
  • Several different cheeses used in the baking industry include riccotta, cottage cheese, cream cheese and mascapone.

  • Baking occurs normally in the range of 140-170 degrees celcius. Controlling the temperature in the oven is important to ensure the product does not over bake and result in cracking. This occurs because there is insufficient moisture in the product.
  • A lumpy batter is often the result of using cheese that is too cold and therefore hard. This can be remedied by softening the cream cheese prior to use.
  • Applying steam to the baked cheese cakes half way through the cooking process will promote the formation of a smooth unbroken top skin. This will add to the visual appeal of the finished product.

Monday, August 07, 2006

Have a look at these.... inspirational

Hi once again,

you all should be well on your way to putting your ideas together for you two tier cakes. I thought I would add a few links for you to look at and maybe provide a little inspiration.


Designer delights:
Click on the link.

http://designerdelights.com.au/

Euro Patissiere:
Click on the link and when the page opens click on cakes

http://www.europatisserie.com.au/index.html

Sweet Art Galley:
Click on the link and when the page opens click on the search results for cake

http://www.sweetart.com.au/gallery.php?search=cakes&page=17

Remember to think about the occassion, shape, size and the skill you want to learn. Also re-read the information in the posting from July's archives and the final semester cake posting.